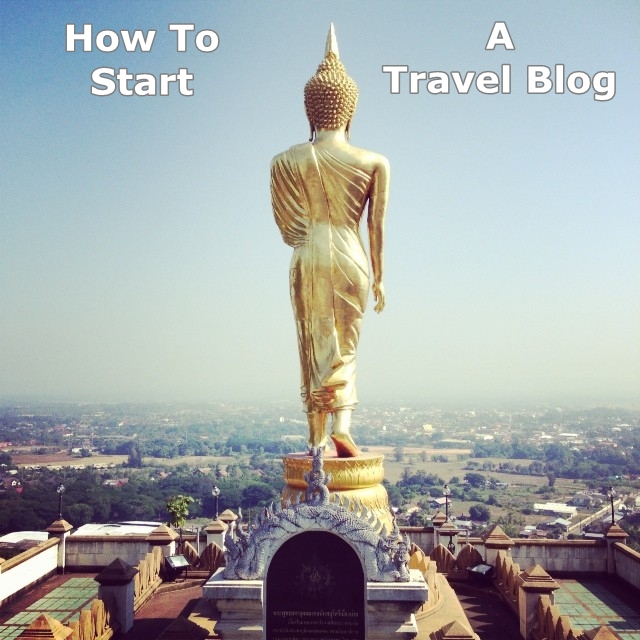
How to Start a Travel Blog Easily and Quickly
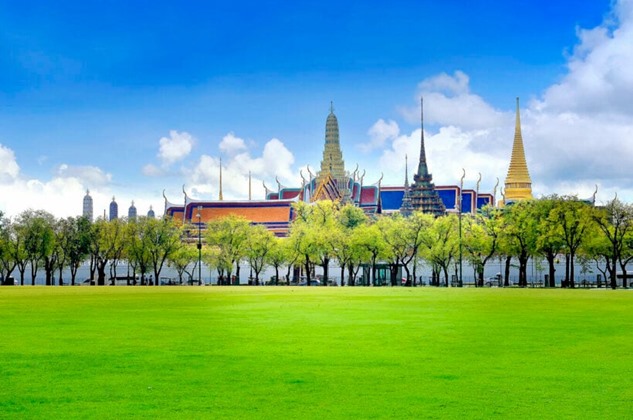
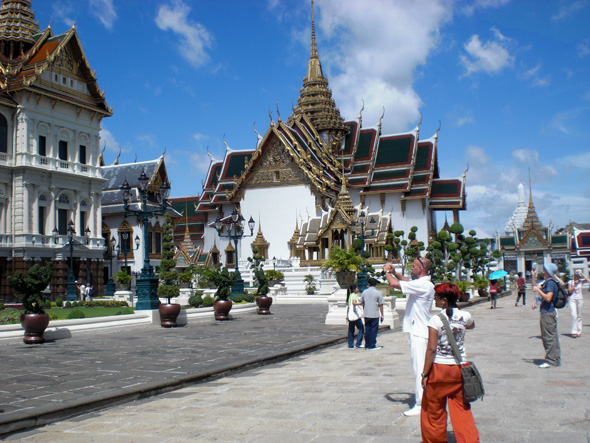
I have been running various travel blogs for more than 8 years. During that time, I’ve moved from a part-time blogger to one who makes a full-time income from writing online. I started out with Tasty Thailand, as I had been living in Bangkok for more than six years back then, so knew a lot about the city and even more about the country as a whole. Fast-forward eight years, and Tasty Thailand is one of the most-read travel blogs on Thailand on the Internet today.
I am also one of those people who believes in paying it forward — helping others like I was helped by myriads of other kind people when I started to ask how to start a travel blog of my own.
So paying it forward is what I’m going to do today. Show you step-by-step how to start a travel blog easily and quickly, and then how to make money from it.
Decide What the Focus of Your Travel Blog Will Be
Before I get started on showing you how to set up a travel blog, here is the biggest tip I can give you.
Be absolutely sure what the focus of your travel blog will be, and then do not deviate from it. That is because those bloggers who start with a focus and stick to it, tend to do well. Those who are all over the place writing about whatever travel topic they are interested in that day do not.
Google also tends to place sites with a focus at the top of search results much more often than sites that do not.
Decide if you want to start a travel blog about an entire country like I did with Tasty Thailand. Or do you want to cover an entire region like Asia, a specific town like Madrid, Spain, or just generally want to inspire your readers to travel to the United States. You can focus on anything you want, just make sure you stick to it once you do.
Then decide on the tone. Is it going to be factual? Funny? Inspiring? Weird? You can go any direction you want to go in but, once you do, again, stick to it.
Example — The Focus of Tasty Thailand
I started Tasty Thailand as a purely informational website on All Things Thailand, and I’ve stuck to it ever since. The tone I use is always the same — informational but friendly — and the articles I write are usually ‘how to’ articles — How To See Bangkok, Thailand on $20 a Day, How to Find a Nice Apartment in Bangkok — articles that walk people through how to do or find something easily and quickly.
Choose a Domain Name and Buy It
Decide what you want to call your website and then choose your domain to go with it. I chose Tasty Thailand as it explained that the site was about Thailand and, with the word tasty in there, it also gave the impression that the country was well worth looking at.
Once you have decided on a name for your site — Terrific Tenerife, Travel Tips For Everybody — or any other name that describes what you are going to do, decide on the domain name you want. You can choose either a .com, a.org, .net, .biz, or.co, or any of the other web address extensions now available, but .com tends to be the best overall choice. Google seems to like it better as well.
Then head to a company that sells domain names and purchase yours.
I have always used Name Cheap, as not only are their domain names, yep, cheap, they have superb customer service as well. When they run sales, you can even buy certain domains from Name Cheap for less than $2.
Choose a Webhost for Your Travel Blog
Once you have a domain name, you now need to decide which company is going to host your travel blog. Meaning which company will put your blog on their servers so anyone on the Internet can access it and read it
Some travel bloggers go with sites like Blogger, as it is free, but I do NOT recommend you do this.
Not only does Blogger control almost everything you do on your blog, if they suddenly decide they do not like what you are doing, they can shut down your entire blog permanently and you have no recourse. This has happened to tens of thousands of bloggers, and I would hate for it to happen to you.
Instead go with a webhost that, sure, may cost you a few dollars per month but, will allow you to be in control of your entire blog, and to be able to move it somewhere else at a moment’s notice if you decide later on that you want to.
Throughout the years, I have used various webhosts to host my travel blogs, but the best webhost I have found is the one I use now.
Called Hostwinds, they have superb customer service, will help you get your blog online in just a few minutes and are available 24 hours a day to help. The price they charge for monthly blog hosting packages is cheap too.
Just starting out, I recommend you go with one of their basic shared hosting packages, as they have affordable shared hosting for just $4.50 a month, very cheap, yet it is a package that will do exactly what you want it to do.
You can also upgrade to a more powerful package anytime you like, although I recommend doing so when your blog starts to get more traffic. Click here to sign up for hosting.
Once you have signed up, check your email account for their welcome email, and follow the instructions to get your blog online. Any problems? Contact their online customer service, as they are lovely and always eager to help.
Choosing a Content-Management System — Go With WordPress
Now you should decide which publishing platform you are going to use. I use WordPress, as do most travel bloggers, as it is not only dead easy to use, but also will do just about anything you need it to. It can also handle everything from a small blog getting a few thousand visitors a month to one getting millions.
If you sign up with Hostwinds, they will even help you install the WordPress content-management system, and give you basic instructions on how to use it.
When you first start, it may take you an hour or two to figure it out, (it took me about 45 minutes), but once you do you will be so happy to be using WordPress, as it can handle any type of blog and any type of blog look.
Choose a Blog Theme —
Speaking of blog looks, the last thing you need to do before getting your travel blog online is to choose a blog theme. That means choose the way your website looks.
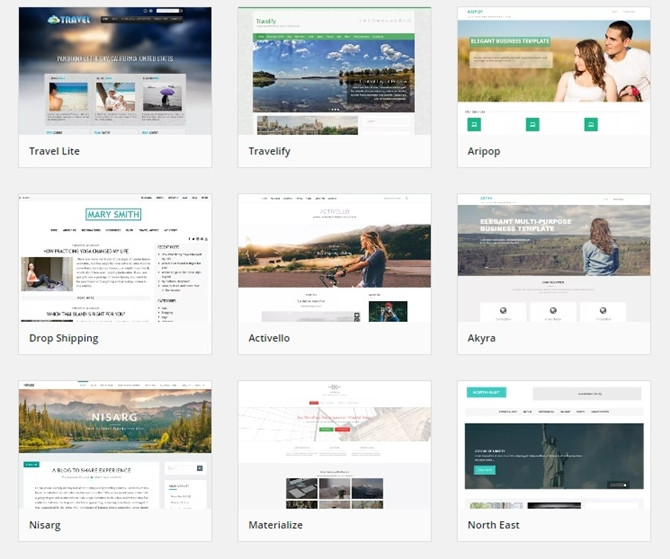
WordPress has hundreds of free themes, though, (see a few of them in the graphic above) and the easiest way to test them out is to download each one to your WordPress installation, and see how it looks. You will find some of their free themes here.
When I set up a new travel blog, I write an introductory post in WordPress and publish it. Then I install various blog themes to see which one I like the best by looking at them with that first post published on them.
It usually takes me anywhere between 10 and 50 blog themes before I find one I like. But remember, even if you choose one, you can change it later — as many times as you want, in fact.

Sign up for Google AdSense and Start Making Money
Finally, if you want to make money from your travel blog, you need to look at different ways of doing so. The most popular one, and the one most travel bloggers usually start out with, is Google AdSense. You can sign up for that here.
Once signed up and accepted, start placing ads on your blog (following Google AdSense rules, so they do not disable your account).
Other ways of making money with your travel blog include affiliate marketing (with reputable companies like CJ Affiliate, and Clickbank). I recommend you do not do this right away, however, as making any kind of money with an affiliate requires quite a lot of traffic. Wait a few months until your travel blog has a few thousand readers per day, then you can start adding affiliate links to it.
And that is it! Quick step-by-step instructions on how to set up a travel blog easily and quickly, and begin making money. I really hope that helps!